

Every printer has bad days
Even experienced makers get failed prints. The skill is not avoiding every failure - it is recognizing what went wrong and fixing it. This page is your field guide to the most common problems on an FDM printer.When a print fails, ask which stage failed: design, slicing, loading, heating, leveling, or adhesion? Working through the print journey in order finds the cause fast.
The most common problems
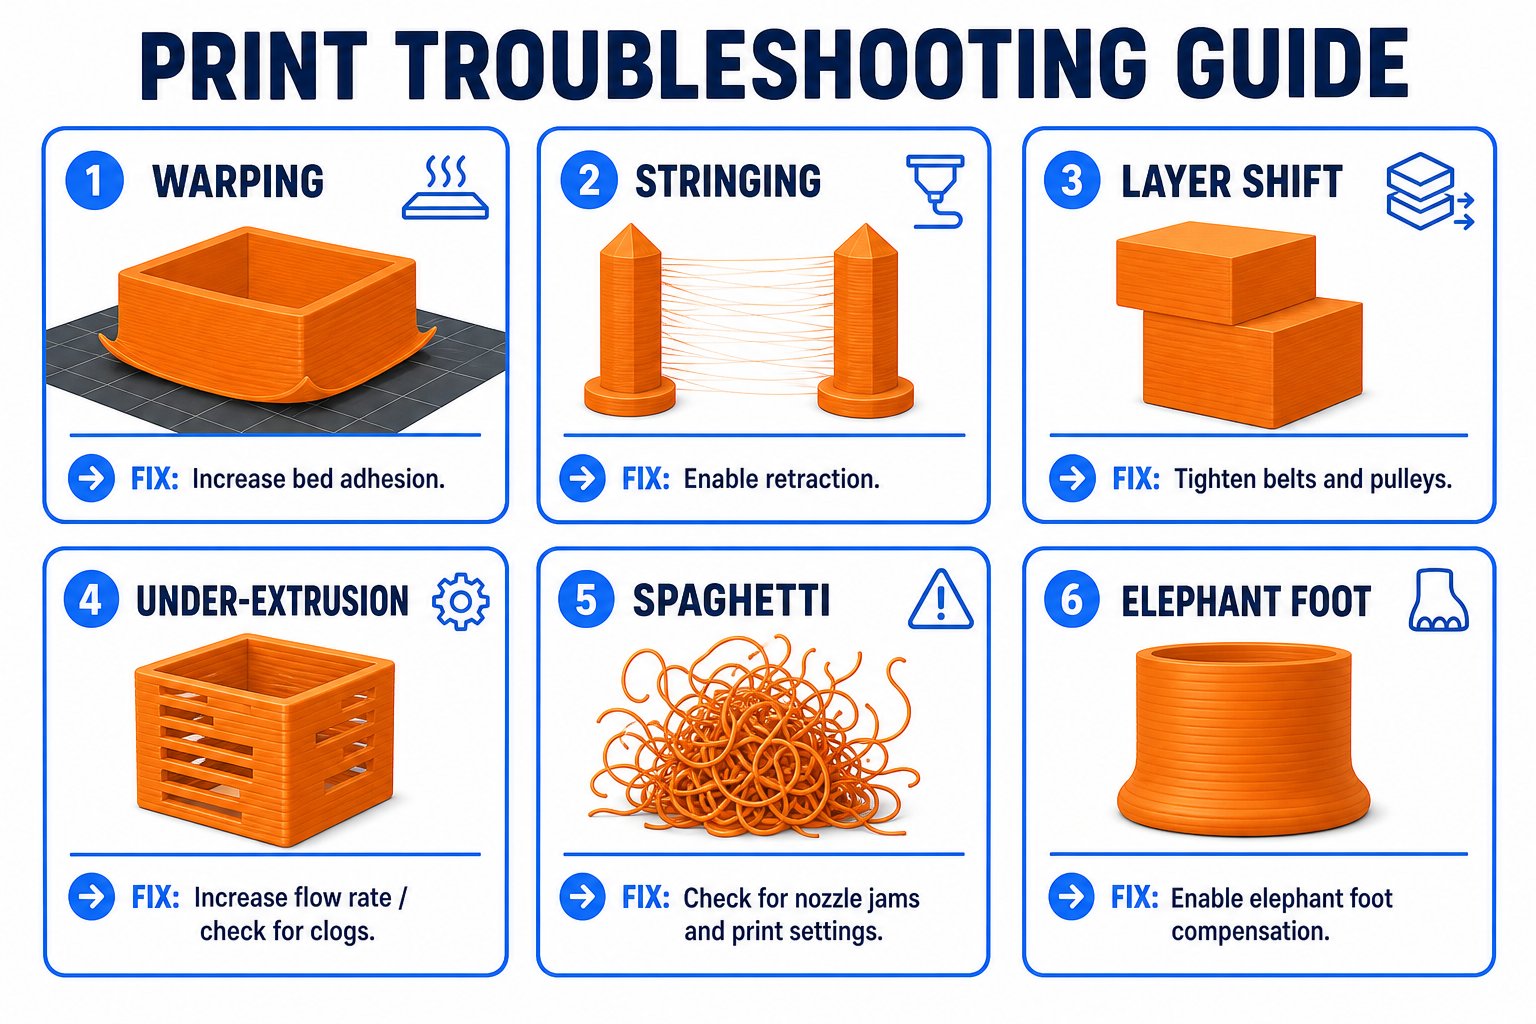
A visual field guide to the most common FDM print failures and what causes them
Poor bed adhesion - print won't stick
Poor bed adhesion - print won't stick
Symptoms: First layer peels up, print detaches, or nothing sticks at all.Fixes: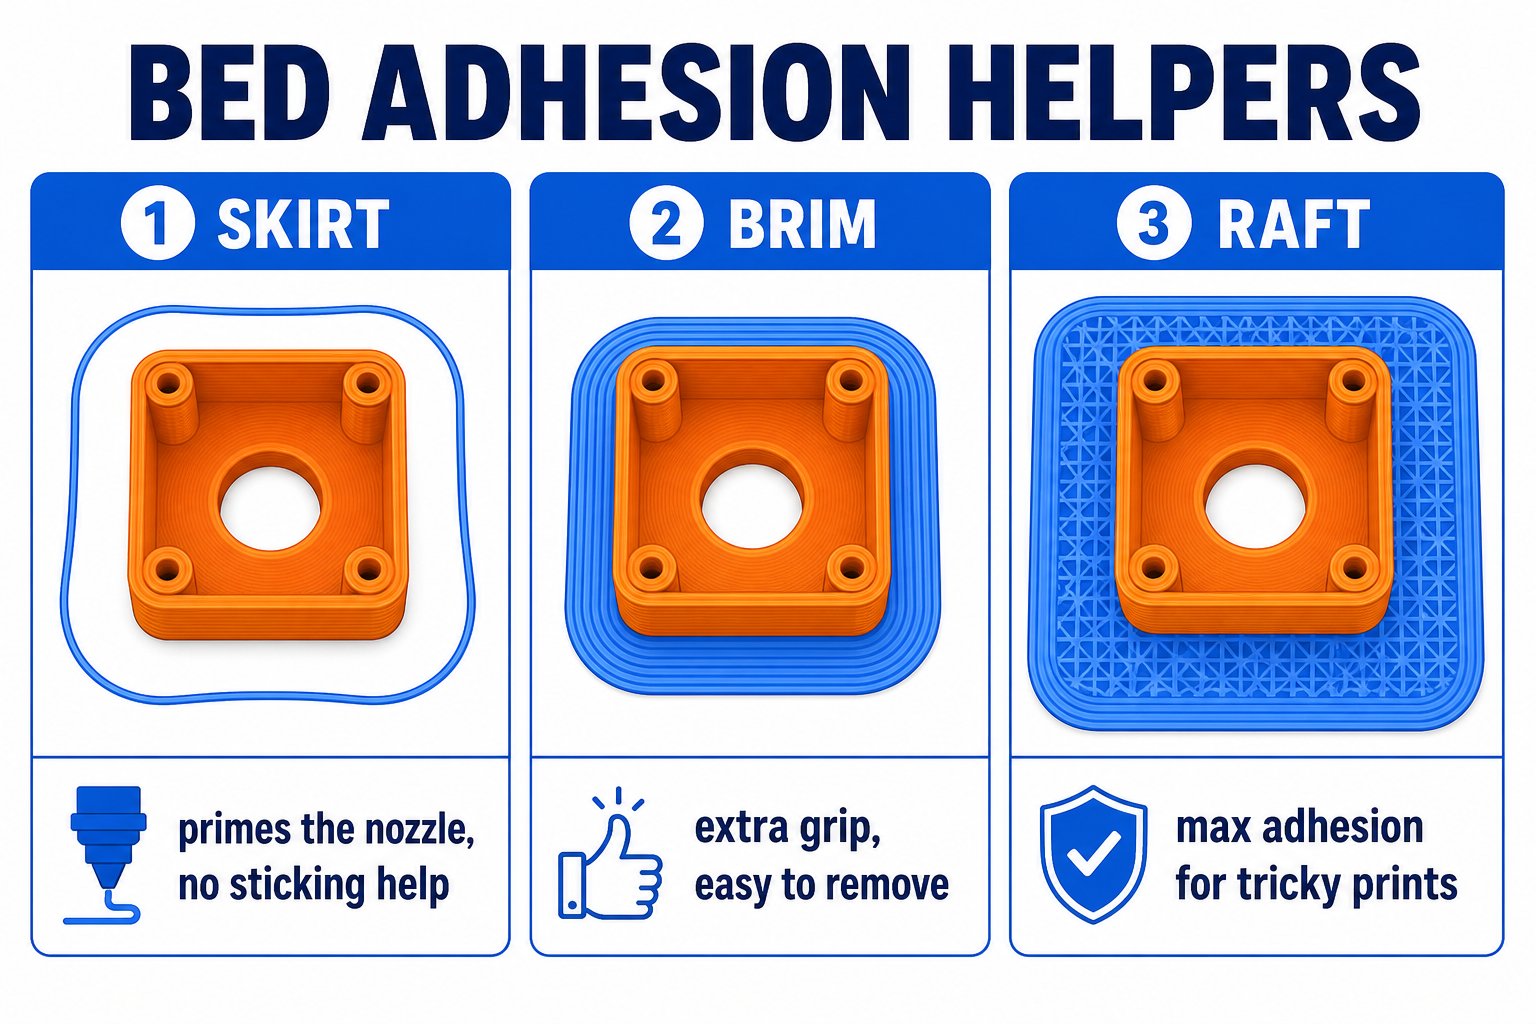
- Re-level the bed - the nozzle is probably too far from the bed
- Clean the surface with soap and water or isopropyl alcohol (skin oils ruin adhesion)
- Add a thin layer of glue stick or use painter’s tape
- Slow down the first layer and add a brim or raft in Cura
Skirts, brims, and rafts each help the first layer grip the bed
Warping - corners lift off the bed
Warping - corners lift off the bed
Symptoms: Corners curl up, the bottom is no longer flat.Fixes:
- Raise the bed temperature slightly
- Reduce drafts - close windows or use an enclosure
- Add a brim for more grip
- Use PLA (it warps far less than ABS)
Stringing and oozing - thin plastic hairs
Stringing and oozing - thin plastic hairs
Symptoms: Fine strands of plastic strung between parts of the print.Fixes: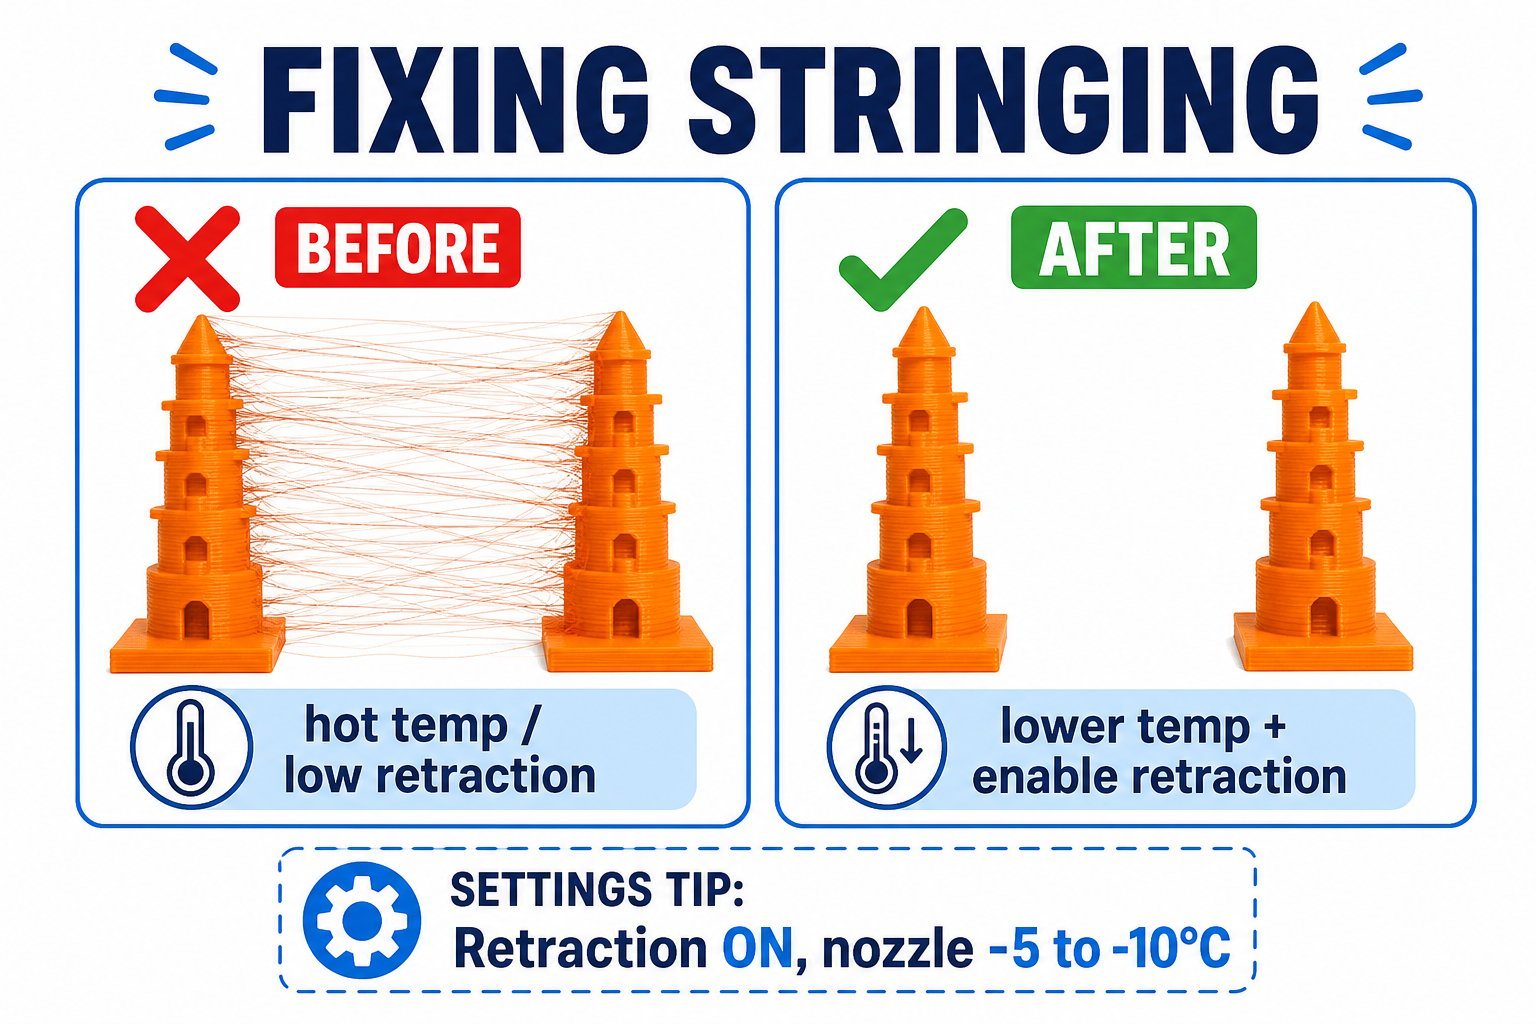
- Enable or increase retraction in Cura
- Lower the print temperature by 5-10 C
- Dry your filament - wet filament strings badly
Retraction pulls filament back during travel moves to stop oozing and stringing
Layer shifting - print looks sliced sideways
Layer shifting - print looks sliced sideways
Symptoms: Upper layers are offset from lower ones.Fixes:
- Check and tighten the X and Y belts
- Make sure nothing is blocking the moving bed or gantry
- Slow the print speed
Under-extrusion - gaps and thin walls
Under-extrusion - gaps and thin walls
Symptoms: Missing plastic, gaps between lines, weak layers.Fixes:
- Check for a partial nozzle clog
- Make sure the extruder gear grips the filament (check the tension arm)
- Raise the temperature slightly and check filament diameter
Over-extrusion - blobs and rough tops
Over-extrusion - blobs and rough tops
Symptoms: Too much plastic, blobby corners, rough top surfaces.Fixes:
- Lower the flow rate in Cura
- Lower the temperature slightly
Spaghetti - a tangled mess
Spaghetti - a tangled mess
Symptoms: The print detached mid-way and the nozzle kept extruding into the air.Fixes:
- Almost always a first-layer/adhesion problem - re-level and clean the bed
- Watch the first few layers of every print before walking away
The paper-test refresher
Most first-layer problems come back to bed leveling. If prints stop sticking, re-run the paper test:- Too far (paper slides freely): filament will not stick - turn the knob clockwise to raise the bed
- Too close (paper rips or won’t move): nozzle scrapes and clogs - turn the knob counterclockwise to lower the bed
- Just right: slight resistance on the paper, like a light drag
A simple debugging mindset
Change one thing at a time
If you change five settings at once, you will not know which one fixed it.
Watch the first layer
Most failures reveal themselves in the first two minutes. Stay and watch.
Write down what you tried
Keep notes so you can repeat what works and skip what does not.