

Connect to your robot and install software
Time: 10:40 AM to 11:10 AM
What is SSH?
SSH stands for Secure Shell. It lets you control another computer by typing text commands on your laptop. Instead of plugging a keyboard and monitor into the Raspberry Pi, you send commands over the WiFi network. Everything you type in your terminal gets executed on the robot. Think of it like texting instructions to someone in another room — except the “someone” is your robot’s computer.Find and open your terminal
A terminal (also called a command line) is a program where you type commands instead of clicking buttons. Every laptop has one built in.- Mac
- Windows
- Press Cmd + Space to open Spotlight search.
- Type Terminal and press Enter.
- A window with a dark or light background and a blinking cursor appears — this is your terminal.
Verify the Pi is on the network
Before connecting, confirm that your laptop can see the robot on WiFi. Type this command and press Enter:ping sends a tiny message to the robot and waits for a reply. If you get replies, the robot is on the network and reachable.
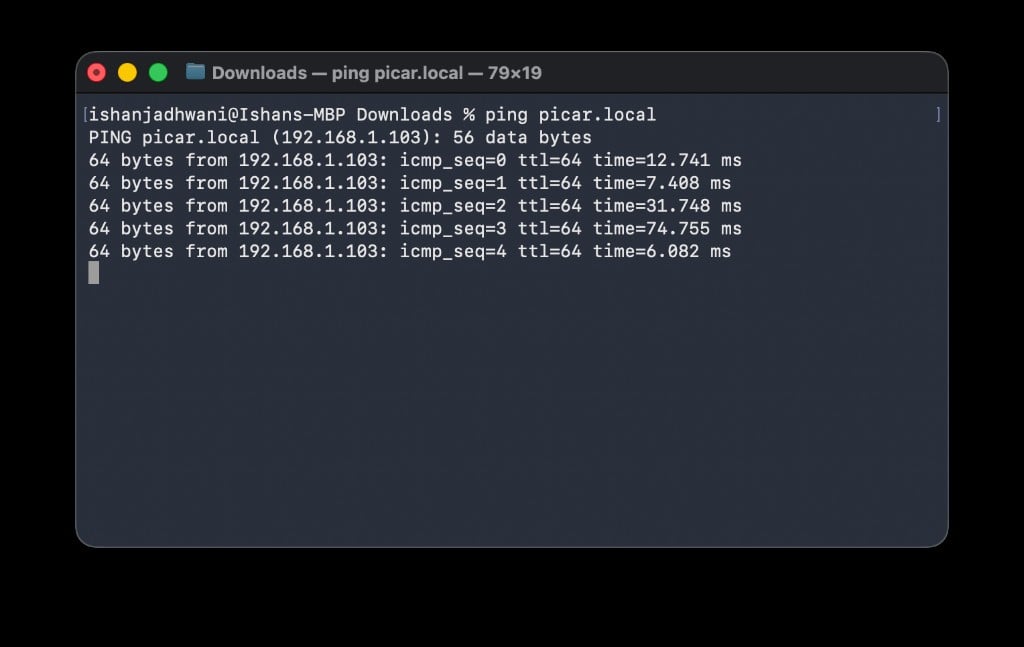
64 bytes from picar.local repeating. Press Ctrl + C to stop the ping.
SSH into the robot
Now you will connect to the robot. Type this command and press Enter:ssh— the command to start a secure connectioncar— the username on the Raspberry Pipicar.local— the hostname of your robot on the network
Accept the fingerprint
The first time you connect, you will see a security message like this: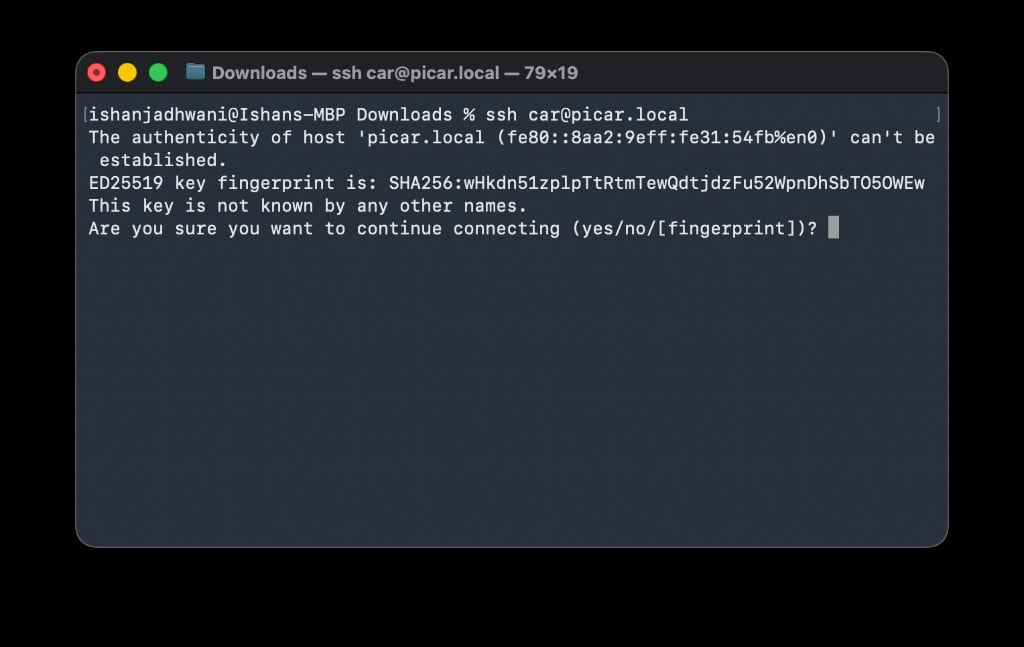
You only see this fingerprint question the first time. Future connections skip it.
Enter your password
The terminal asks for a password. Type:You are connected
After entering the password, your terminal prompt changes: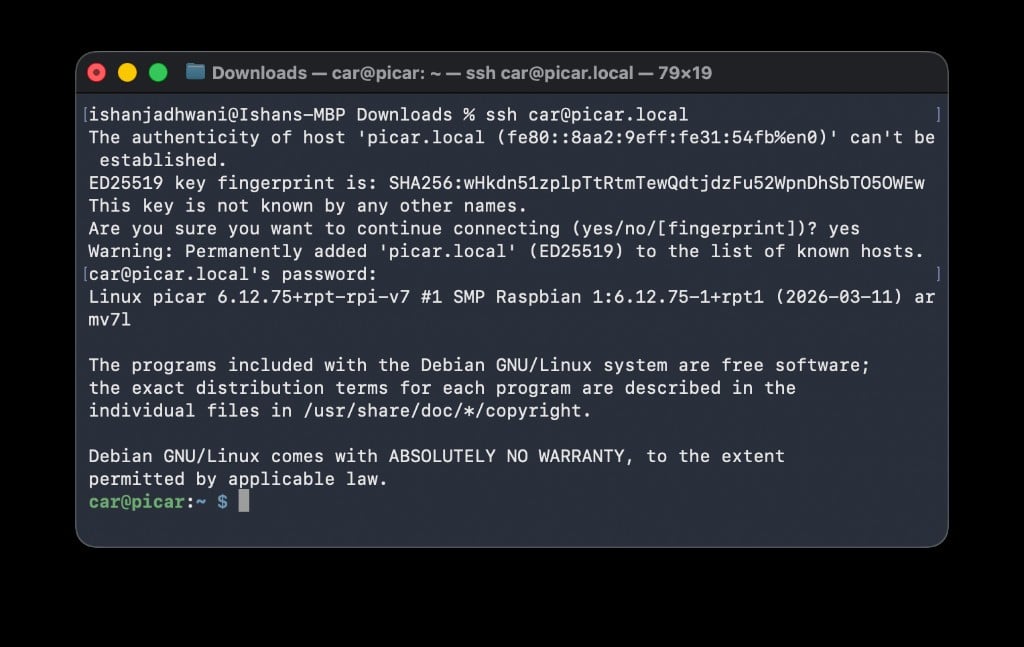
car— the user you are logged in aspicar— the name of the computer (your robot)~— your current folder (the home directory)$— the terminal is ready for your next command
You are now inside your robot. Every command you type runs on the Raspberry Pi, not on your laptop.
Verify internet access
Confirm the robot can reach the internet. Run:192.168.1.42 — that is your robot’s address on the WiFi network. Write it down as a backup in case picar.local stops working later.
Clone the camp repo and run setup
The setup script installs all the software your robot needs: motor drivers, camera libraries, audio support, and more.1
Clone the camp repository
Download all camp files onto the Pi:This creates a
~/camp folder with all scripts organized by day.2
Run the setup script
Run the script with administrator privileges:What
sudo means: sudo stands for “superuser do.” Some software installations require administrator access — sudo gives the script permission to install system-level packages.3
What the script installs
The script sets up everything your robot needs:
- robot-hat — the hardware interface library
- vilib — the camera and vision library
- picar-x — the motor and servo control library
- espeak — text-to-speech so the robot can talk
- I2S audio driver — enables the onboard speaker and microphone
4
Reboot when prompted
At the end of the script, it asks if you want to reboot. Type y and press Enter.The connection drops — this is expected. The robot is restarting.
5
Reconnect after reboot
Wait about 60 seconds for the Pi to restart, then SSH back in:Enter the password
car when prompted. You are back in.Setup complete. Your robot now has all the software it needs for the rest of the camp.
WiFi troubleshooting
If you run into network issues at any point, work through this list:Raspberry Pi Connect as backup
If SSH does not work after troubleshooting, you can use Raspberry Pi Connect as a backup. This service was set up when you flashed the SD card.1
Open Raspberry Pi Connect
In your browser, go to connect.raspberrypi.com.
2
Sign in
Log in with the Raspberry Pi account you created during the SD card setup.
3
Open a remote shell
Find your device listed as picar and click Remote shell. This opens a terminal in your browser that works exactly like SSH.
Raspberry Pi Connect requires the Pi to have internet access. If the Pi is not connected to WiFi at all, this backup will not work either — ask a facilitator for hands-on help.