> ## Documentation Index
> Fetch the complete documentation index at: https://stem-docs.intellectualpoint.com/llms.txt
> Use this file to discover all available pages before exploring further.
# Install your slicer (Cura)
> Install UltiMaker Cura, add your Ender 3, and learn what a slicer does and why you need one.
## Why you need a slicer
Your printer cannot read a 3D model directly. It needs step-by-step instructions called **G-code** - move here, extrude this much, heat to this temperature. A **slicer** is the software that takes your 3D model, cuts it into hundreds of thin horizontal layers, and writes the G-code your Ender 3 follows.
The gold-standard free slicer is **UltiMaker Cura**, trusted by millions of makers worldwide.
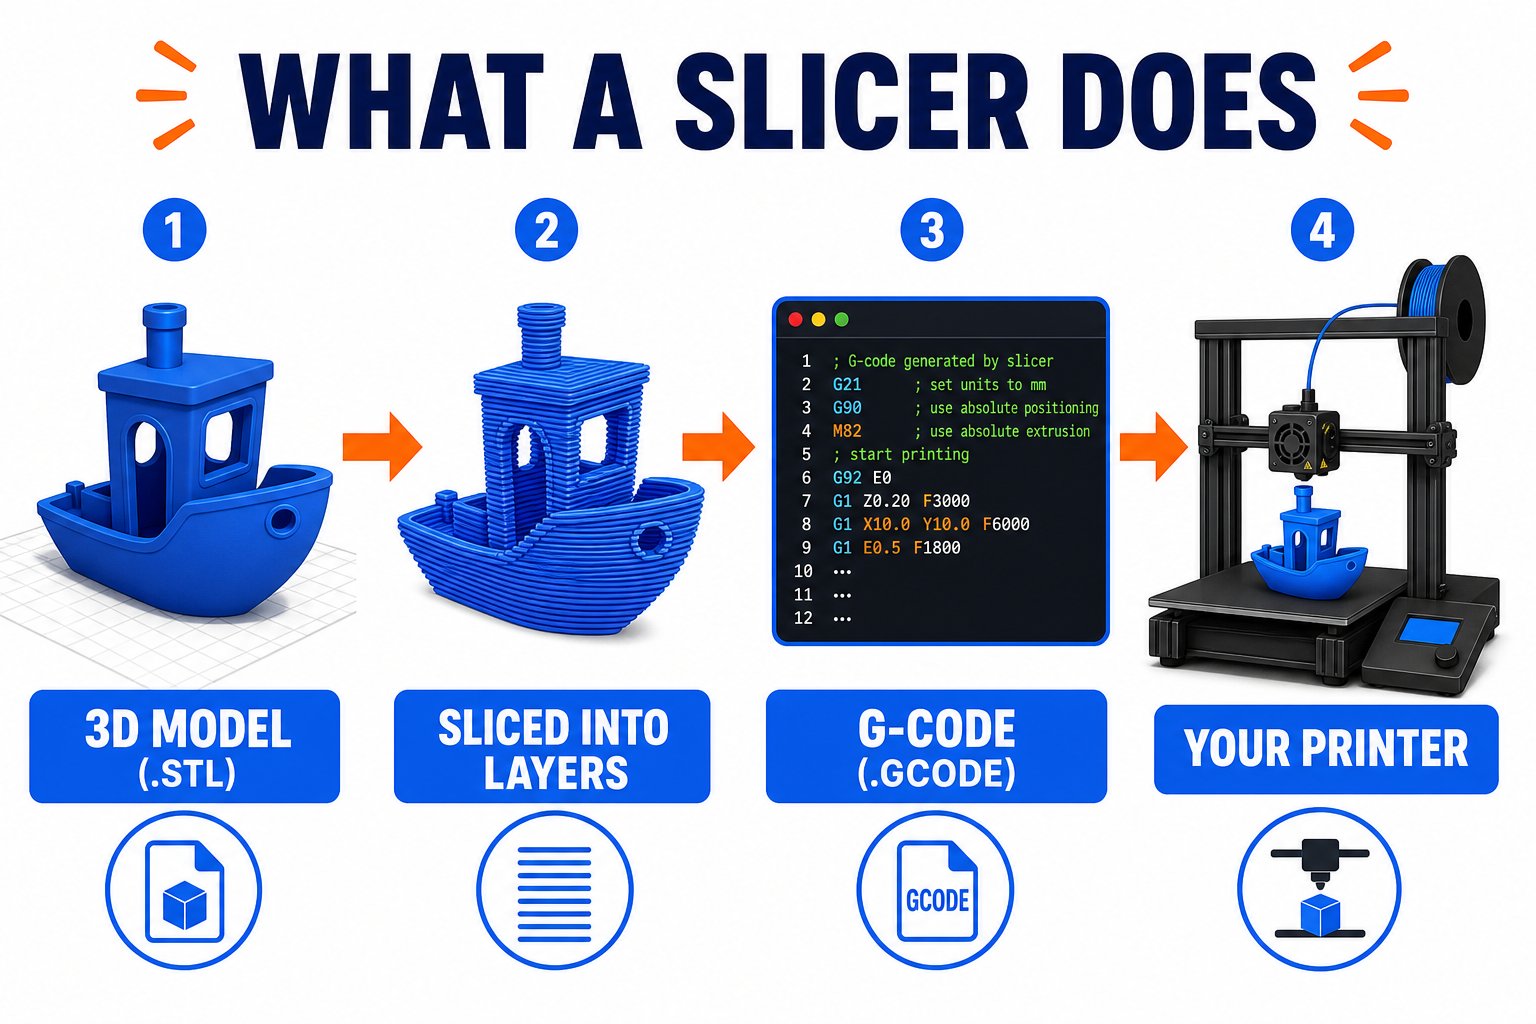 Model file (`.stl` / `.obj`) → **Cura slices it** → printer file (`.gcode`) → your Ender 3 prints it.
## Install Cura
Visit [ultimaker.com/software/ultimaker-cura](https://ultimaker.com/software/ultimaker-cura/) and click **Download for Free**. Choose the installer for your operating system (Windows or Mac).
Open the downloaded file (`.exe` on Windows, `.dmg` on Mac). Agree to the terms, then on Windows click **Install**, or on Mac **drag Cura into your Applications folder**.
Launch Cura. The first time it opens, it walks you through adding a printer.
## Add your Ender 3
Cura needs to know which printer you have so it uses the right settings and build area.
Click **Add Printer** → **Non-UltiMaker Printer** → **Add a non-networked printer**.
Open the **Creality** manufacturer group, select **Creality Ender 3**, and click **Add**.
Cura fills in the Ender 3's build volume (220 x 220 x 250 mm) and defaults automatically. Accept them.
## A quick tour of Cura
Model file (`.stl` / `.obj`) → **Cura slices it** → printer file (`.gcode`) → your Ender 3 prints it.
## Install Cura
Visit [ultimaker.com/software/ultimaker-cura](https://ultimaker.com/software/ultimaker-cura/) and click **Download for Free**. Choose the installer for your operating system (Windows or Mac).
Open the downloaded file (`.exe` on Windows, `.dmg` on Mac). Agree to the terms, then on Windows click **Install**, or on Mac **drag Cura into your Applications folder**.
Launch Cura. The first time it opens, it walks you through adding a printer.
## Add your Ender 3
Cura needs to know which printer you have so it uses the right settings and build area.
Click **Add Printer** → **Non-UltiMaker Printer** → **Add a non-networked printer**.
Open the **Creality** manufacturer group, select **Creality Ender 3**, and click **Add**.
Cura fills in the Ender 3's build volume (220 x 220 x 250 mm) and defaults automatically. Accept them.
## A quick tour of Cura
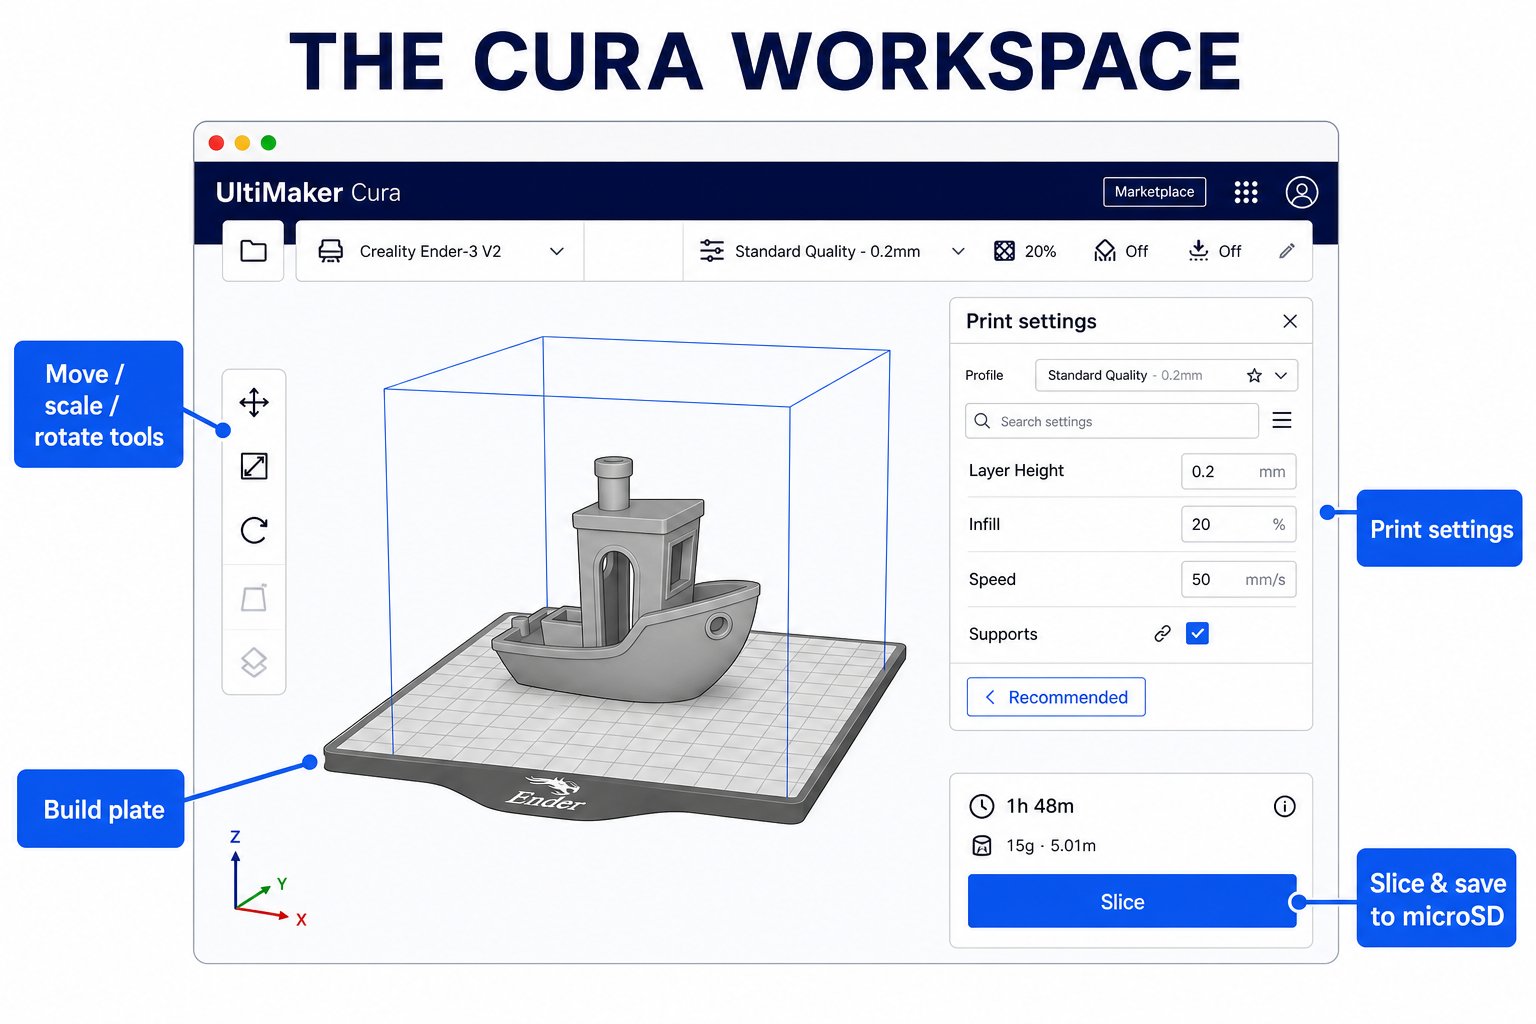 Drag an `.stl` file into Cura, or use **File → Open**. Your model appears on the virtual bed.
Use the tools on the left to position and size your model on the bed.
On the right, set layer height, infill, speed, and supports. Start with the **Standard Quality** preset.
Click **Slice**, review the time and material estimate, then **Save to Disk** or to your microSD card.
## Beginner settings that just work
Drag an `.stl` file into Cura, or use **File → Open**. Your model appears on the virtual bed.
Use the tools on the left to position and size your model on the bed.
On the right, set layer height, infill, speed, and supports. Start with the **Standard Quality** preset.
Click **Slice**, review the time and material estimate, then **Save to Disk** or to your microSD card.
## Beginner settings that just work
 | Setting | Beginner value | Why |
| -------------------- | --------------------------------- | ----------------------------------------------- |
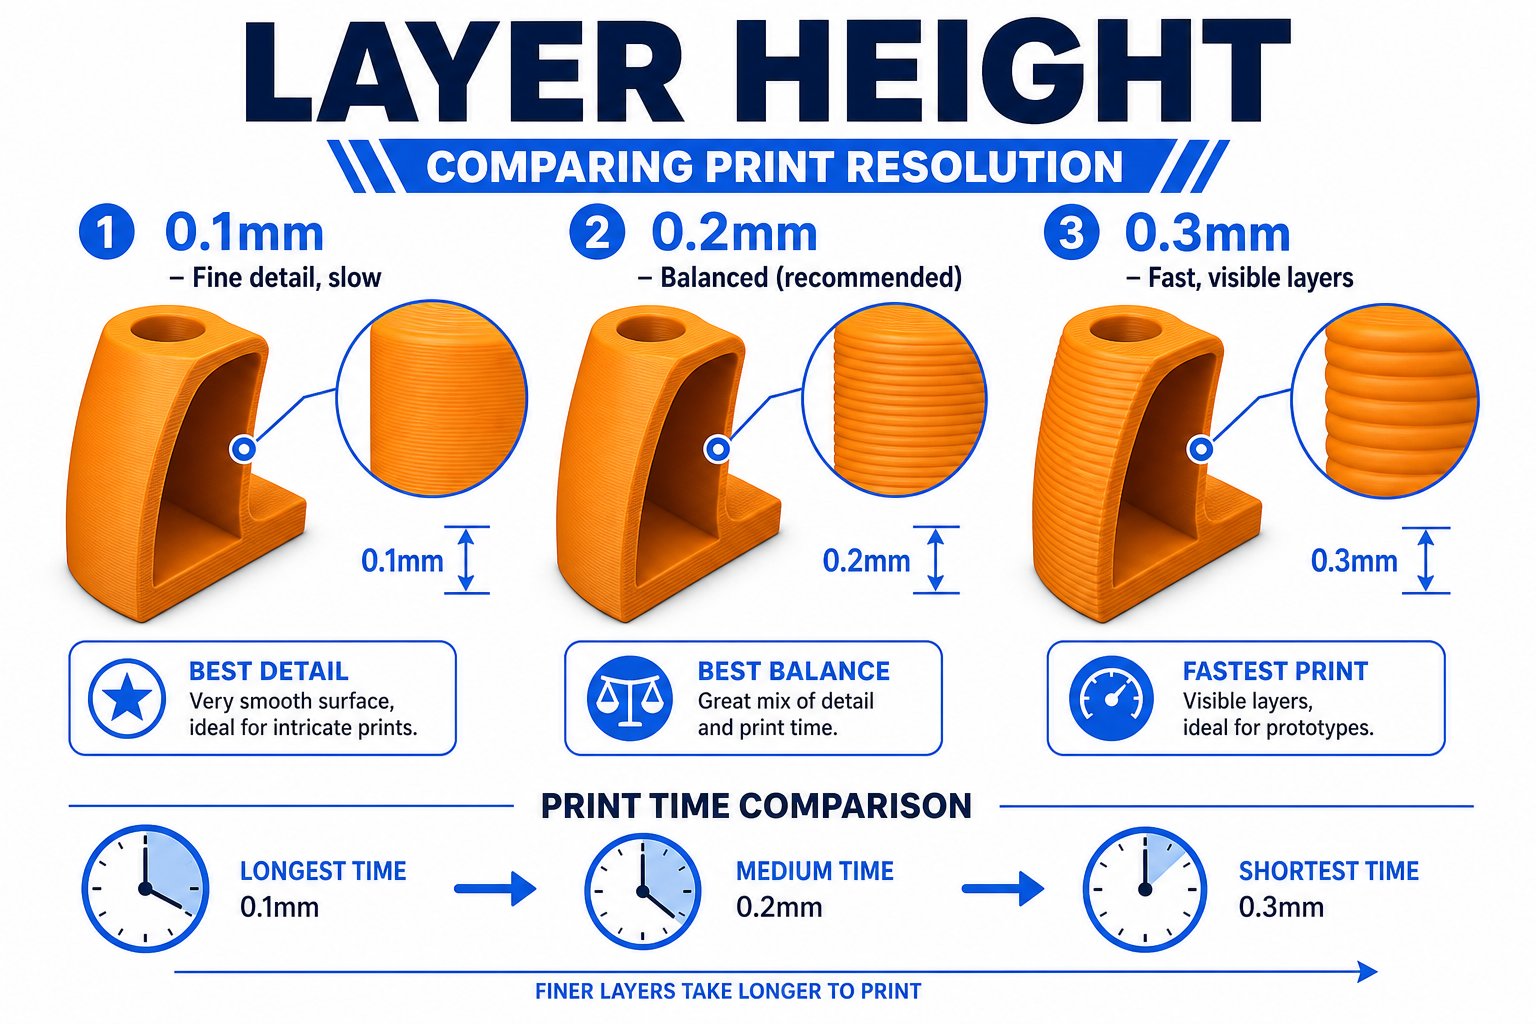
| Layer height | 0.2 mm | Good balance of speed and quality |
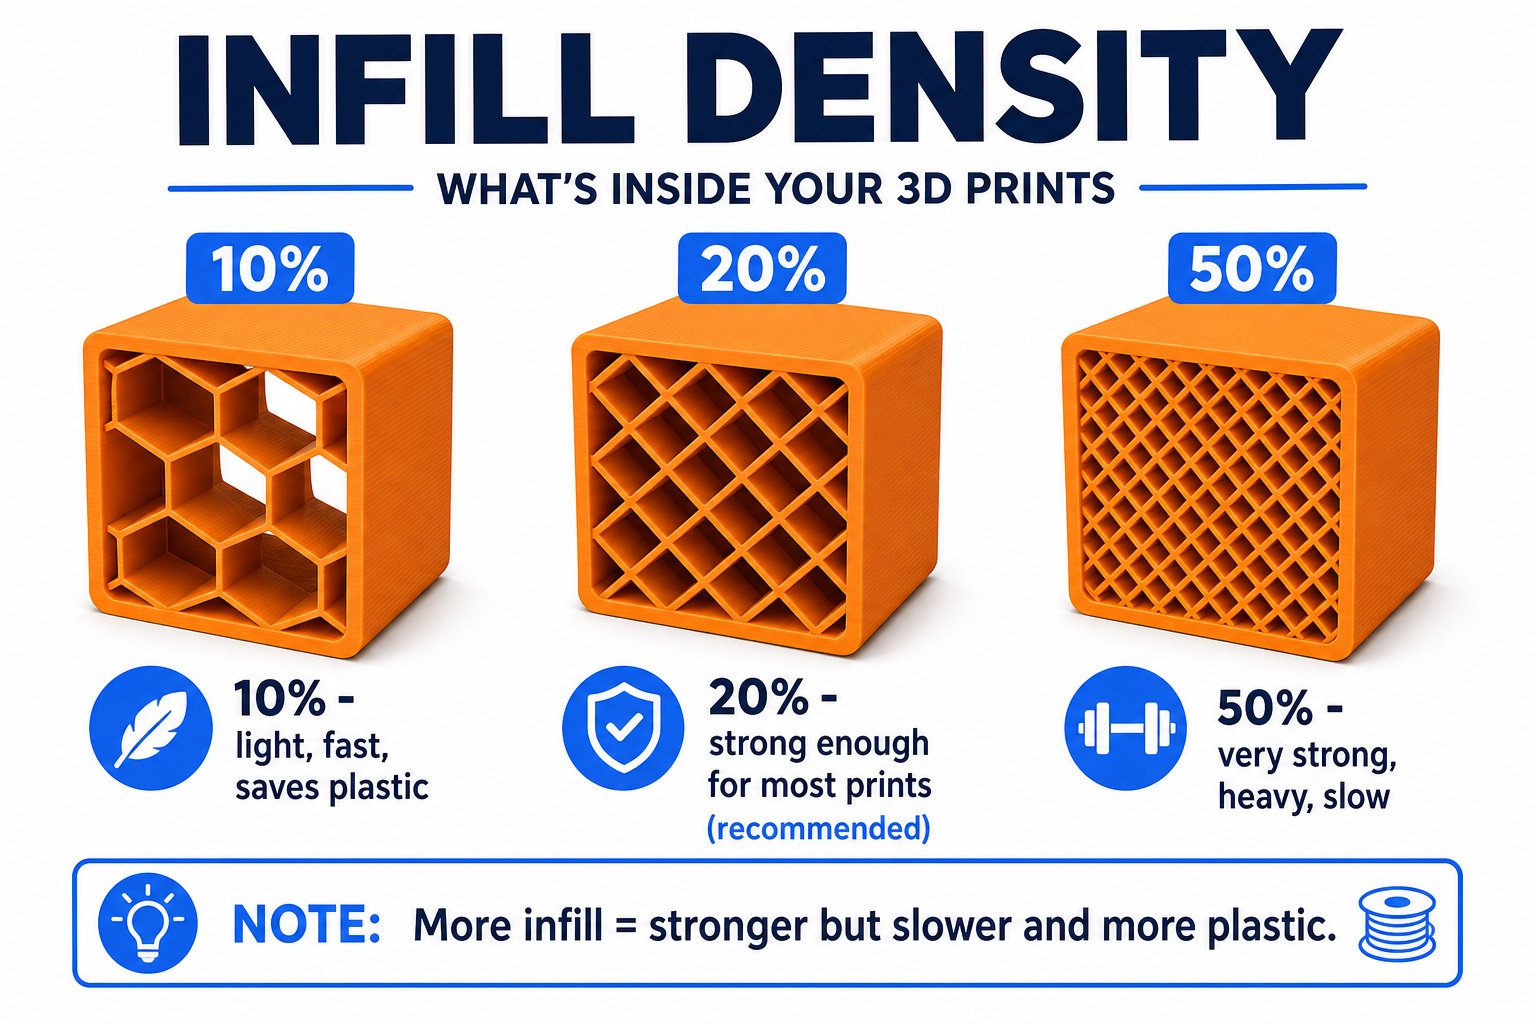
| Infill | 15-20% | Strong enough for most prints, saves plastic |
| Print speed | 40-50 mm/s | Reliable and clean for a new printer |
| Build plate adhesion | Skirt (or Brim) | Primes the nozzle and improves first-layer grip |
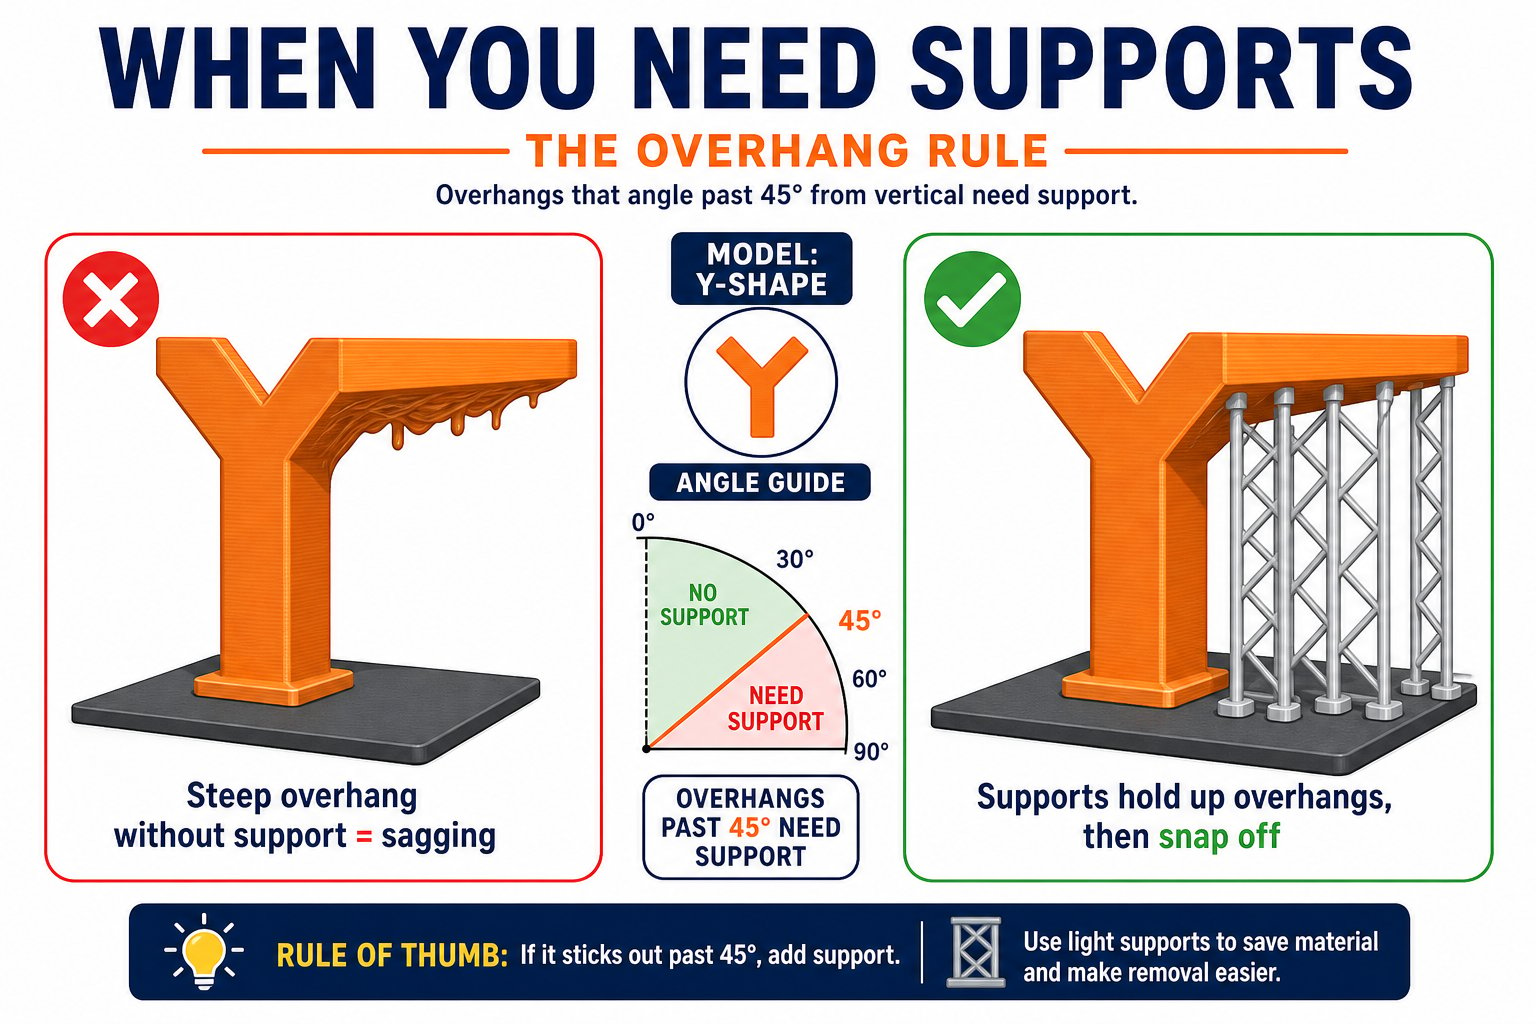
| Supports | Only if there are steep overhangs | Saves plastic and cleanup when not needed |
Always make sure the selected printer in Cura is **Creality Ender 3** before slicing. Slicing with the wrong printer profile can send bad temperatures or move commands to your machine.
Cura is installed, the Creality Ender 3 is added, and you can load a model, slice it, and save a `.gcode` file. Next we set up the design software.
| Setting | Beginner value | Why |
| -------------------- | --------------------------------- | ----------------------------------------------- |
| Layer height | 0.2 mm | Good balance of speed and quality |
| Infill | 15-20% | Strong enough for most prints, saves plastic |
| Print speed | 40-50 mm/s | Reliable and clean for a new printer |
| Build plate adhesion | Skirt (or Brim) | Primes the nozzle and improves first-layer grip |
| Supports | Only if there are steep overhangs | Saves plastic and cleanup when not needed |
Always make sure the selected printer in Cura is **Creality Ender 3** before slicing. Slicing with the wrong printer profile can send bad temperatures or move commands to your machine.
Cura is installed, the Creality Ender 3 is added, and you can load a model, slice it, and save a `.gcode` file. Next we set up the design software.