> ## Documentation Index
> Fetch the complete documentation index at: https://stem-docs.intellectualpoint.com/llms.txt
> Use this file to discover all available pages before exploring further.
# Belt installation
> Route the timing belt around the extruder bar so the print head can move left and right.
## Installing the belt
The **timing belt** is what physically moves your print head left and right (the X axis). You route it around the bar, through the extruder, around the gears, and clamp both ends into place. It will feel loose at first - that is fine, you tension it in the next step.
The belt has **teeth on one side**. Those teeth always face **down toward the track** so they grip the gears.
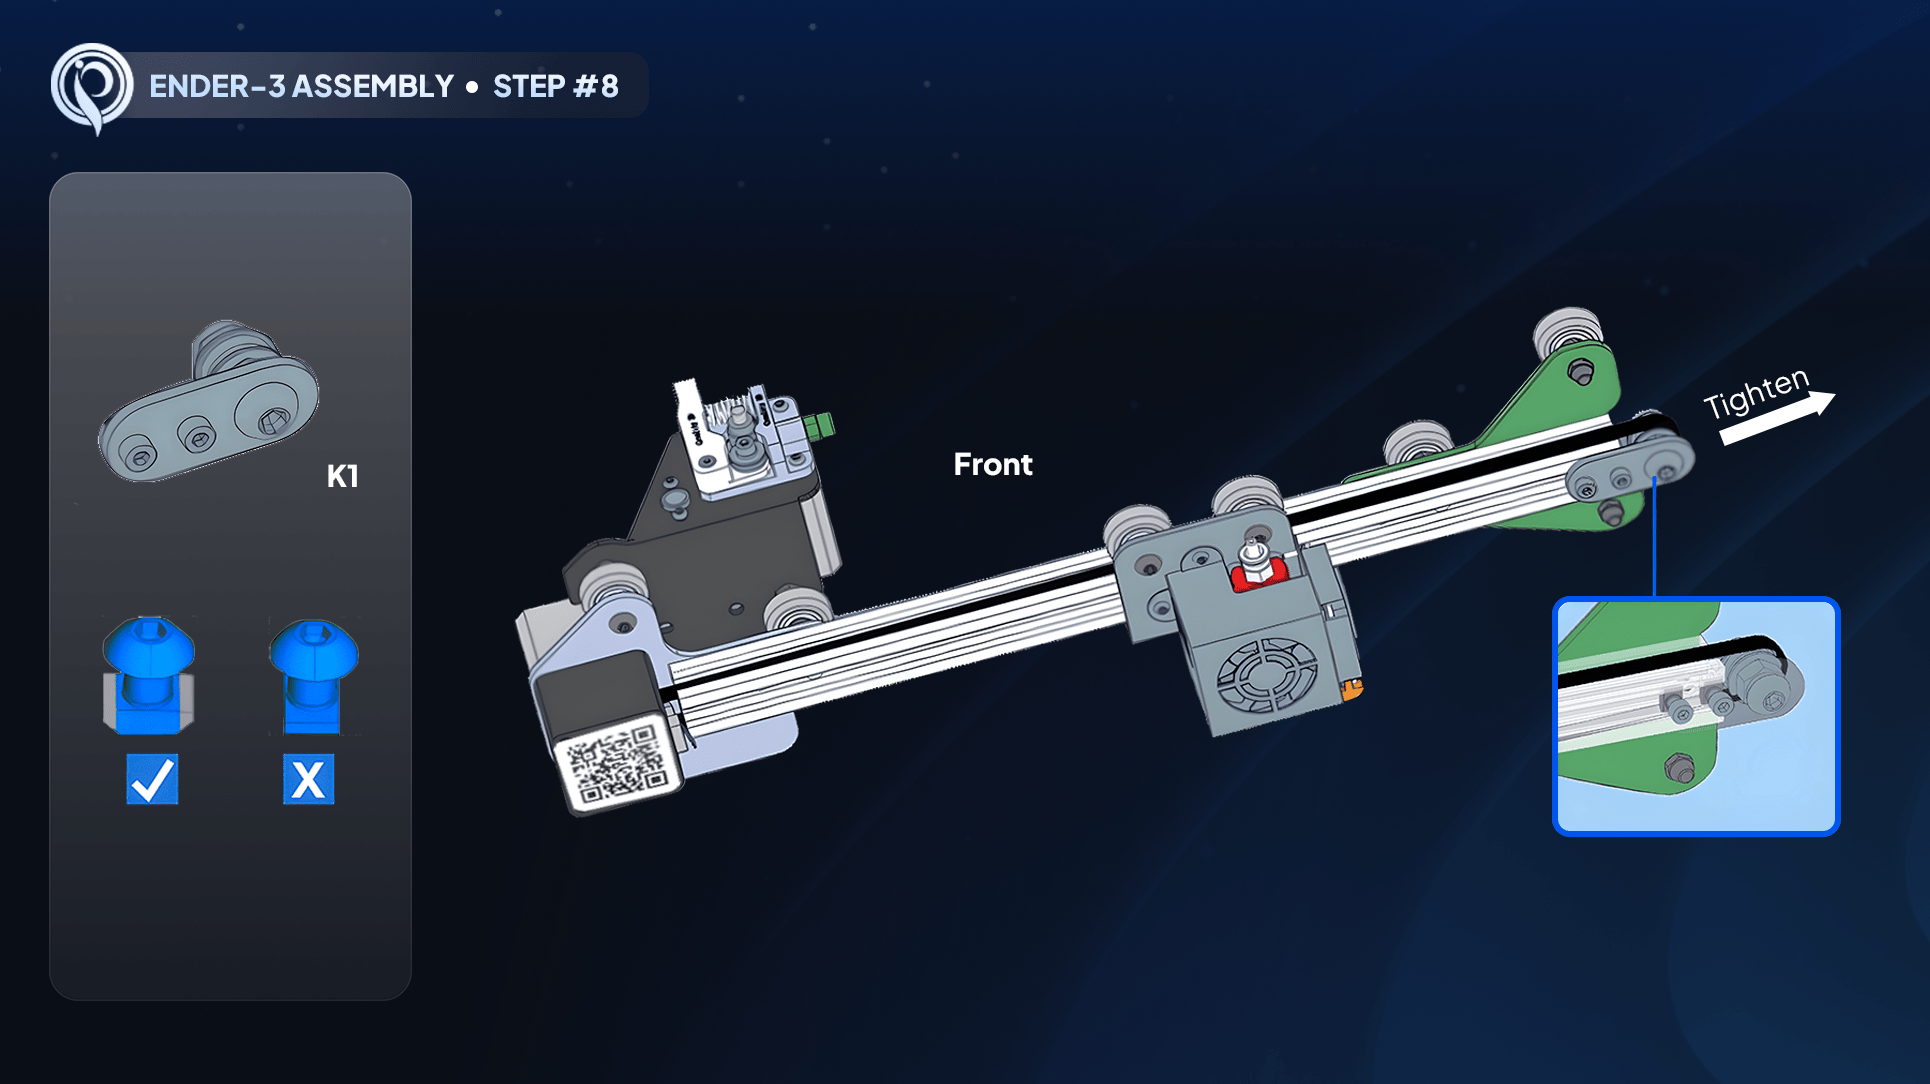 ## Step-by-step
Clip one end of the belt (the "golden clasp") into the clamp near the first gear, teeth pointing down.
Run the belt through the extruder housing, around the gear wheel, and back out - like driving a car around a track. Keep the teeth facing the track the whole way.
Bring the belt all the way around the far end and back underneath the wheels to the second clamp on the other side.
Make a loop, seat it into the second clamp, and pull it snug so both ends are locked into their clamps.
The belt forms a closed loop with the teeth facing down, both ends are clamped near the first gear, and pulling the belt one way moves the print head. It is okay that the belt still feels loose.
## Up next
To remove the slack, you install the **extruder arm** tensioner at the end of the bar.
## Step-by-step
Clip one end of the belt (the "golden clasp") into the clamp near the first gear, teeth pointing down.
Run the belt through the extruder housing, around the gear wheel, and back out - like driving a car around a track. Keep the teeth facing the track the whole way.
Bring the belt all the way around the far end and back underneath the wheels to the second clamp on the other side.
Make a loop, seat it into the second clamp, and pull it snug so both ends are locked into their clamps.
The belt forms a closed loop with the teeth facing down, both ends are clamped near the first gear, and pulling the belt one way moves the print head. It is okay that the belt still feels loose.
## Up next
To remove the slack, you install the **extruder arm** tensioner at the end of the bar.