> ## Documentation Index
> Fetch the complete documentation index at: https://stem-docs.intellectualpoint.com/llms.txt
> Use this file to discover all available pages before exploring further.
# Capstone project kickoff
> Choose your capstone project, understand the rules and judging, and present your plan to the class.
## The 3D Printing Capstone Challenge
Welcome to the Capstone Challenge! Over the five days of camp, you will choose, design, print, and present a 3D object that shows off everything you learn. The goal is a creative, well-made print that you are proud of - and that you designed or customized yourself whenever possible.
You choose your project **today (Day 1)** and present it on **Day 5**. Picking early gives you the most time to design, print, fix problems, and improve.
## Project timeline
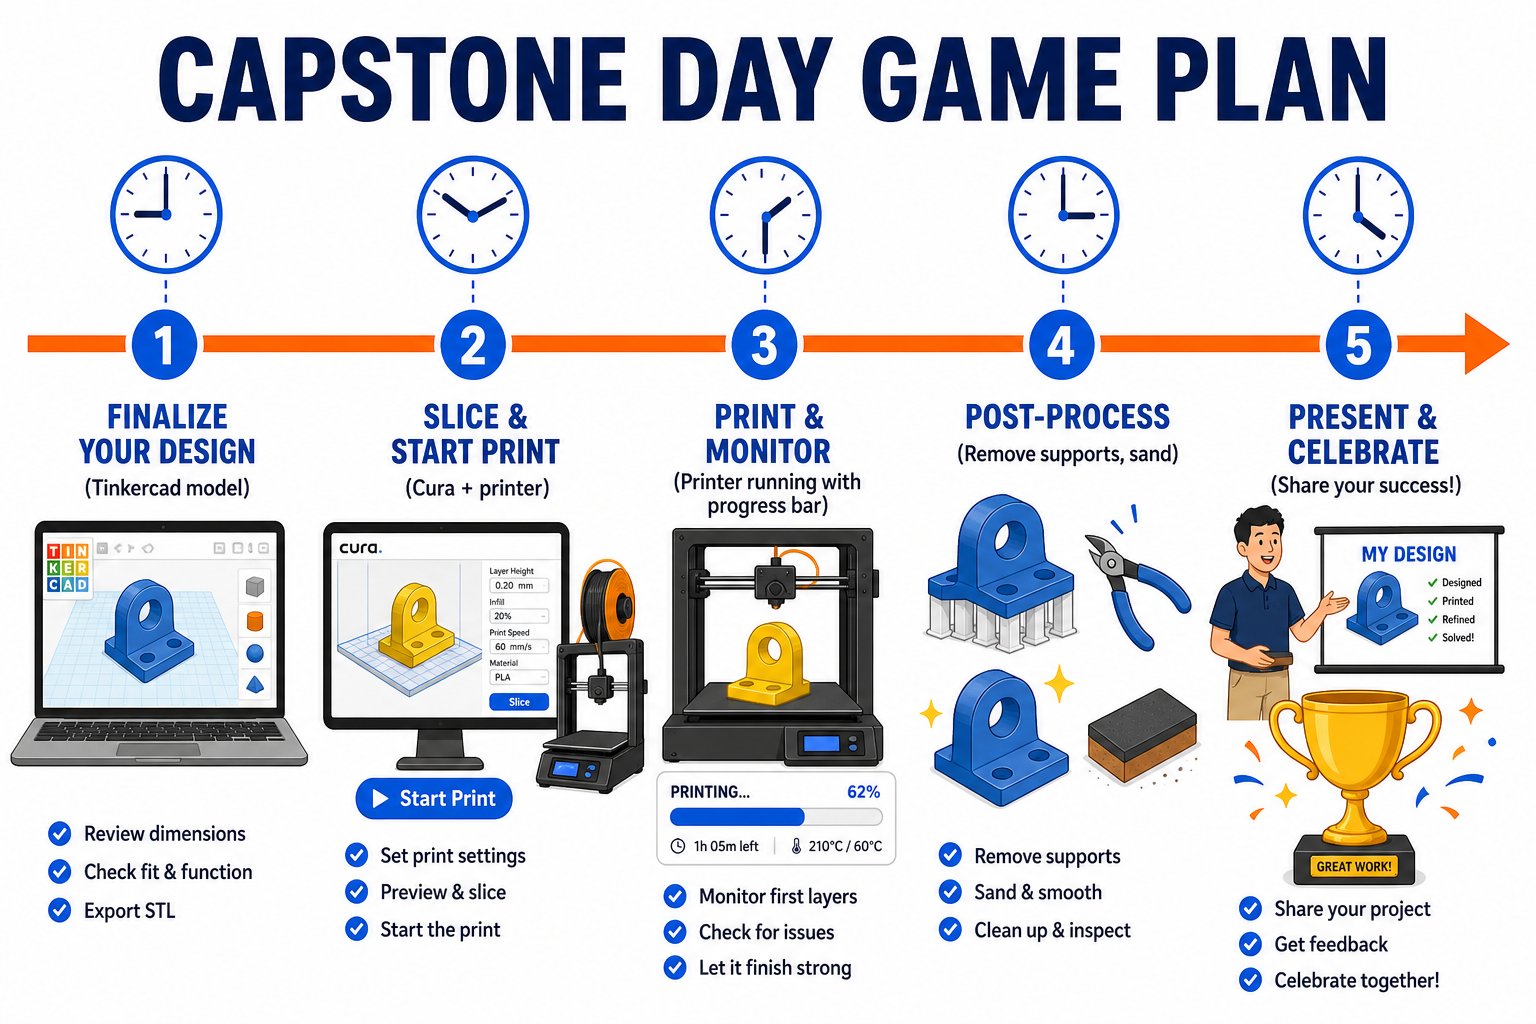 Decide what you want to make, get it approved by your instructor, and share your idea with the class.
Build your printer, level the bed, and learn Tinkercad and Cura so you are ready to create.
Model your project in Tinkercad (or download and customize one), slice it, and print it.
Present your finished project (or what you learned if it failed) and receive your certificate.
## Rules and requirements
* Choose your idea on **Day 1** and explain it to the class.
* You may **design your own model** in Tinkercad **or download one** from a site like Thingiverse, Printables, or MakerWorld - but customizing or designing your own earns bonus points.
* Your project must be **approved by your instructor** for feasibility - it has to fit the printer, finish in time, and use PLA.
* Complete your print by **Day 5**. If it fails, that is okay - present what you learned.
* You may use **multiple printed parts**, but they must all be finished by the deadline.
* You may sand, glue, paint, or assemble your print.
* Always do post-processing **safely and under adult supervision**.
## Your Day 5 presentation
On Day 5, each person presents their project and explains:
Describe your print and what it does.
Tell us what made this project interesting to you.
Walk through your process from design or download, through slicing, to the finished print.
Share what went wrong and how you fixed it. This is worth real points.
You are encouraged to iterate and "fail forward." Mistakes are part of the process - the best presentations honestly explain problems and how they were solved. You are judged on **effort, not just perfection**.
## Judging criteria
Projects are scored out of **100 base points**, with optional bonuses that can push you above 100.
Decide what you want to make, get it approved by your instructor, and share your idea with the class.
Build your printer, level the bed, and learn Tinkercad and Cura so you are ready to create.
Model your project in Tinkercad (or download and customize one), slice it, and print it.
Present your finished project (or what you learned if it failed) and receive your certificate.
## Rules and requirements
* Choose your idea on **Day 1** and explain it to the class.
* You may **design your own model** in Tinkercad **or download one** from a site like Thingiverse, Printables, or MakerWorld - but customizing or designing your own earns bonus points.
* Your project must be **approved by your instructor** for feasibility - it has to fit the printer, finish in time, and use PLA.
* Complete your print by **Day 5**. If it fails, that is okay - present what you learned.
* You may use **multiple printed parts**, but they must all be finished by the deadline.
* You may sand, glue, paint, or assemble your print.
* Always do post-processing **safely and under adult supervision**.
## Your Day 5 presentation
On Day 5, each person presents their project and explains:
Describe your print and what it does.
Tell us what made this project interesting to you.
Walk through your process from design or download, through slicing, to the finished print.
Share what went wrong and how you fixed it. This is worth real points.
You are encouraged to iterate and "fail forward." Mistakes are part of the process - the best presentations honestly explain problems and how they were solved. You are judged on **effort, not just perfection**.
## Judging criteria
Projects are scored out of **100 base points**, with optional bonuses that can push you above 100.
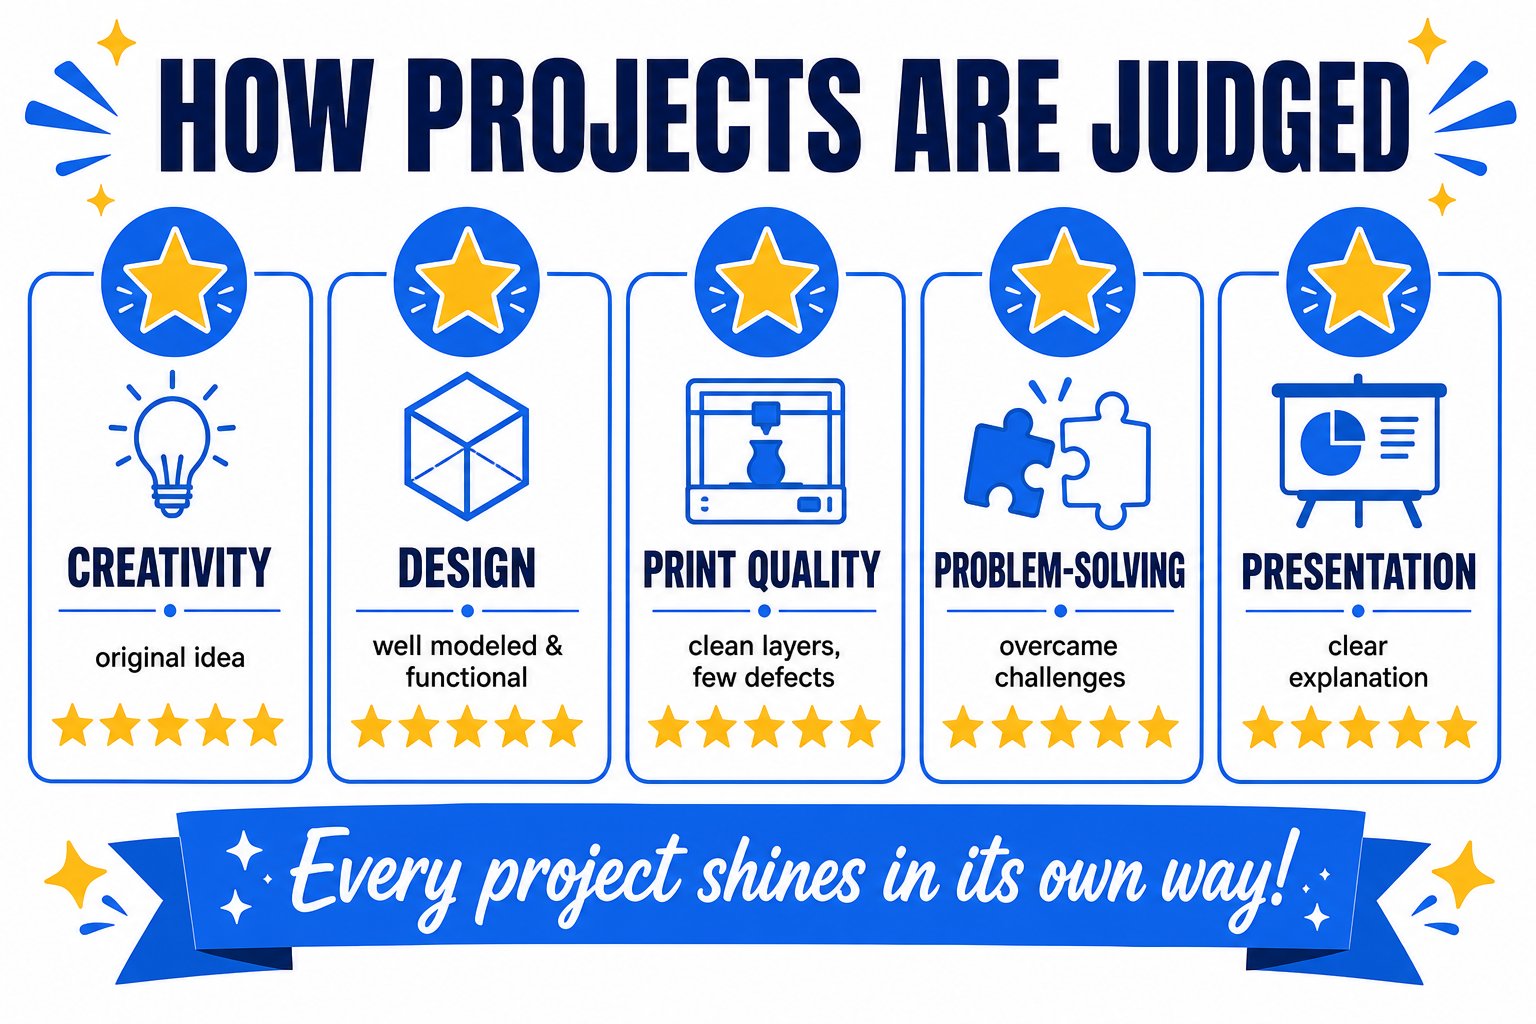 | Category | Points | What it means |
| ----------------------------- | ------ | ------------------------------------------------------------- |
| Creativity and originality | 20 | A unique idea, interesting choice, or creative design |
| Effort and complexity | 20 | The challenge level, multiple parts, or intricate detail |
| Execution and print quality | 20 | Completed successfully with good settings |
| Problem solving and iteration | 15 | Resilience - you fixed issues and made adjustments |
| Presentation and explanation | 20 | Clearly explained your idea, process, and results |
| Modeling bonus | +10 | Designed your own model from scratch or with meaningful edits |
| Multiple parts bonus | +5 | More than one printed part, assembled or functional |
| Post-processing bonus | +5 | Sanding, painting, gluing, polishing, or finishing |
Notice that **problem solving is worth 15 points on its own**. A print that failed but taught you a lot can still score very well if you explain what happened and how you responded.
## Ideas to get you started
Not sure what to make? Here are some directions at different difficulty levels. You will learn the design skills to make these across Days 3 and 4.
Name-tag keychain, phone stand, desk organizer, cookie cutter, or a low-poly animal.
A custom box with a lid, a nameplate with raised letters, a code-built basket, or a simple toy.
A fully custom Tinkercad design, an articulated model, or an assembly of several printed parts.
Before the end of Day 1, you should have: a project idea, instructor approval, and a short plan ready to present to the class.
| Category | Points | What it means |
| ----------------------------- | ------ | ------------------------------------------------------------- |
| Creativity and originality | 20 | A unique idea, interesting choice, or creative design |
| Effort and complexity | 20 | The challenge level, multiple parts, or intricate detail |
| Execution and print quality | 20 | Completed successfully with good settings |
| Problem solving and iteration | 15 | Resilience - you fixed issues and made adjustments |
| Presentation and explanation | 20 | Clearly explained your idea, process, and results |
| Modeling bonus | +10 | Designed your own model from scratch or with meaningful edits |
| Multiple parts bonus | +5 | More than one printed part, assembled or functional |
| Post-processing bonus | +5 | Sanding, painting, gluing, polishing, or finishing |
Notice that **problem solving is worth 15 points on its own**. A print that failed but taught you a lot can still score very well if you explain what happened and how you responded.
## Ideas to get you started
Not sure what to make? Here are some directions at different difficulty levels. You will learn the design skills to make these across Days 3 and 4.
Name-tag keychain, phone stand, desk organizer, cookie cutter, or a low-poly animal.
A custom box with a lid, a nameplate with raised letters, a code-built basket, or a simple toy.
A fully custom Tinkercad design, an articulated model, or an assembly of several printed parts.
Before the end of Day 1, you should have: a project idea, instructor approval, and a short plan ready to present to the class.