> ## Documentation Index
> Fetch the complete documentation index at: https://stem-docs.intellectualpoint.com/llms.txt
> Use this file to discover all available pages before exploring further.
# Build surfaces
> Compare glass, PEI, and other build surfaces, and learn how to get prints to stick and release cleanly.
## Where your print sticks
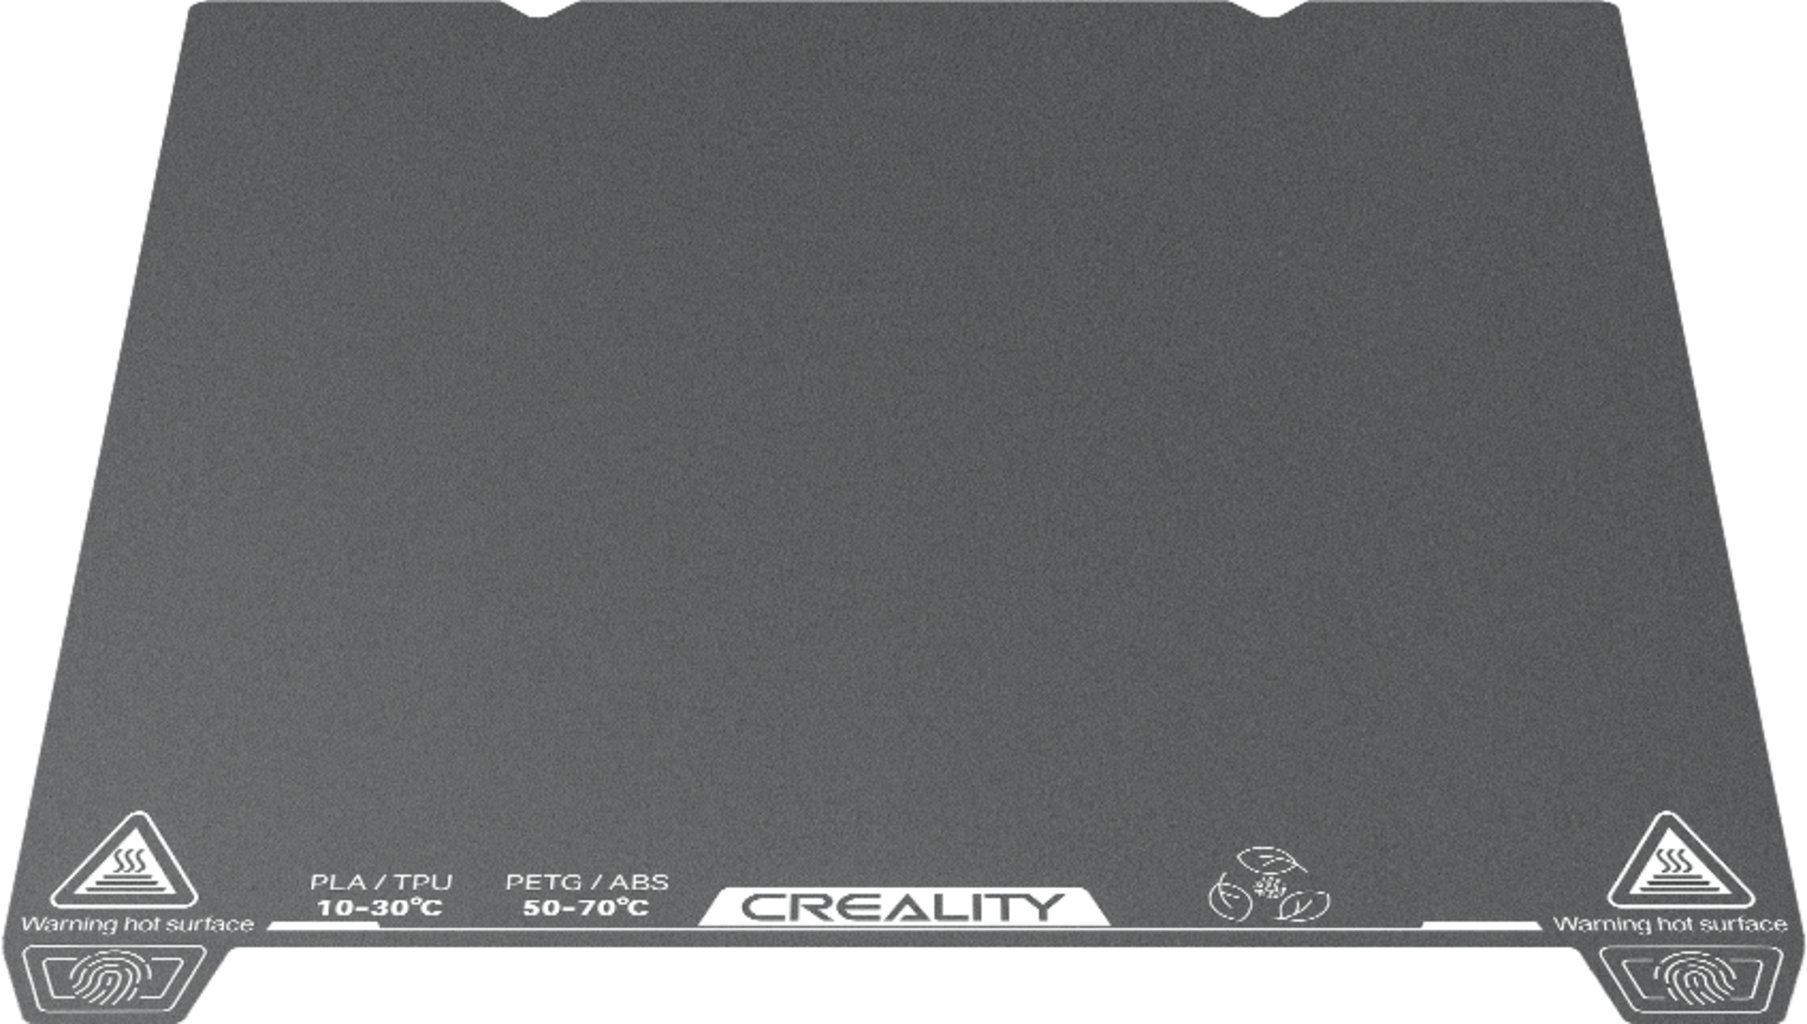
The **build surface** is the top layer of the bed that your first layer grips. Get it right and prints stick during printing and release cleanly when done. Get it wrong and prints either lift off mid-job or fuse so hard you cannot remove them. Your Adventurer 5M uses a flexible **PEI** plate, but it helps to know the whole landscape.
 ## Two parts of a bed
Every bed is really two things working together:
The heated (or unheated) platform underneath. It provides warmth and a flat foundation.
The top layer the plastic actually touches - glass, PEI, tape, or a magnetic sheet. This is what determines adhesion.
## Common build surfaces
| Surface | Best for | Pros | Cons |
| ---------------------------- | ------------------ | ---------------------------------- | ------------------------------------ |
| Glass (borosilicate) | PLA, PETG | Very flat, durable, glossy bottom | Lower adhesion, heavy |
| Textured PEI (spring steel) | PLA, PETG, ABS | Great adhesion, flexible, magnetic | Leaves a matte texture on the bottom |
| Smooth PEI (spring steel) | PLA, ABS, flexible | Smooth bottom, flexible removal | May need glue for PETG/TPU |
| BuildTak / engineered sheets | PLA, ABS, PETG | Durable, reusable | Hard to remove if over-tuned |
| Painter's tape | PLA | Cheap, easy to replace | Not for heated beds |
| Kapton tape | ABS, PETG | Smooth, heat resistant | Bubbles when applied |
| Magnetic flex plates | PLA, PETG, ABS | Easy swap and removal | Magnet weakens over time |
| Garolite (G10) | Nylon, TPU | Excellent for Nylon and flexibles | Expensive, harder to find |
## Glass beds
A flat sheet of glass (often borosilicate) sits on the heated bed.
Exceptionally flat for perfect first layers, a glossy smooth bottom finish, easy to clean with IPA, durable and scratch resistant, and chemically inert.
Lower natural adhesion (often needs glue), heavier and more fragile than flex plates, and no easy "pop off" removal.
## PEI beds (what you have)
**PEI** (polyetherimide) is the modern favorite: excellent adhesion, chemical resistance, and easy use. Your Adventurer 5M's flexible, magnetic PEI plate is a big reason it is so beginner friendly.
| PEI type | Surface finish | Notes |
| ---------------- | ----------------------------------------------- | ------------------------------------------- |
| Smooth PEI | Shiny bottom | Glossy first-layer finish |
| Textured PEI | Matte, slightly rough bottom | Great grip, hides first-layer imperfections |
| Sticker-type PEI | Smooth or textured | Adhesive-backed onto glass or metal |
| Spring steel PEI | Often smooth on one side, textured on the other | Flexible - bend to pop off prints |
**Use PEI if** you want strong, consistent adhesion across many materials with low maintenance and easy, flexible removal. **Be careful** with abrasive filaments (protect the surface) and avoid scratching it with metal tools.
## Getting prints to stick (and release)
The single biggest factor in adhesion is the **first-layer nozzle height**. Too close and the nozzle scrapes; too far and the filament will not stick. You want an even, slightly squished first layer.
## Two parts of a bed
Every bed is really two things working together:
The heated (or unheated) platform underneath. It provides warmth and a flat foundation.
The top layer the plastic actually touches - glass, PEI, tape, or a magnetic sheet. This is what determines adhesion.
## Common build surfaces
| Surface | Best for | Pros | Cons |
| ---------------------------- | ------------------ | ---------------------------------- | ------------------------------------ |
| Glass (borosilicate) | PLA, PETG | Very flat, durable, glossy bottom | Lower adhesion, heavy |
| Textured PEI (spring steel) | PLA, PETG, ABS | Great adhesion, flexible, magnetic | Leaves a matte texture on the bottom |
| Smooth PEI (spring steel) | PLA, ABS, flexible | Smooth bottom, flexible removal | May need glue for PETG/TPU |
| BuildTak / engineered sheets | PLA, ABS, PETG | Durable, reusable | Hard to remove if over-tuned |
| Painter's tape | PLA | Cheap, easy to replace | Not for heated beds |
| Kapton tape | ABS, PETG | Smooth, heat resistant | Bubbles when applied |
| Magnetic flex plates | PLA, PETG, ABS | Easy swap and removal | Magnet weakens over time |
| Garolite (G10) | Nylon, TPU | Excellent for Nylon and flexibles | Expensive, harder to find |
## Glass beds
A flat sheet of glass (often borosilicate) sits on the heated bed.
Exceptionally flat for perfect first layers, a glossy smooth bottom finish, easy to clean with IPA, durable and scratch resistant, and chemically inert.
Lower natural adhesion (often needs glue), heavier and more fragile than flex plates, and no easy "pop off" removal.
## PEI beds (what you have)
**PEI** (polyetherimide) is the modern favorite: excellent adhesion, chemical resistance, and easy use. Your Adventurer 5M's flexible, magnetic PEI plate is a big reason it is so beginner friendly.
| PEI type | Surface finish | Notes |
| ---------------- | ----------------------------------------------- | ------------------------------------------- |
| Smooth PEI | Shiny bottom | Glossy first-layer finish |
| Textured PEI | Matte, slightly rough bottom | Great grip, hides first-layer imperfections |
| Sticker-type PEI | Smooth or textured | Adhesive-backed onto glass or metal |
| Spring steel PEI | Often smooth on one side, textured on the other | Flexible - bend to pop off prints |
**Use PEI if** you want strong, consistent adhesion across many materials with low maintenance and easy, flexible removal. **Be careful** with abrasive filaments (protect the surface) and avoid scratching it with metal tools.
## Getting prints to stick (and release)
The single biggest factor in adhesion is the **first-layer nozzle height**. Too close and the nozzle scrapes; too far and the filament will not stick. You want an even, slightly squished first layer.
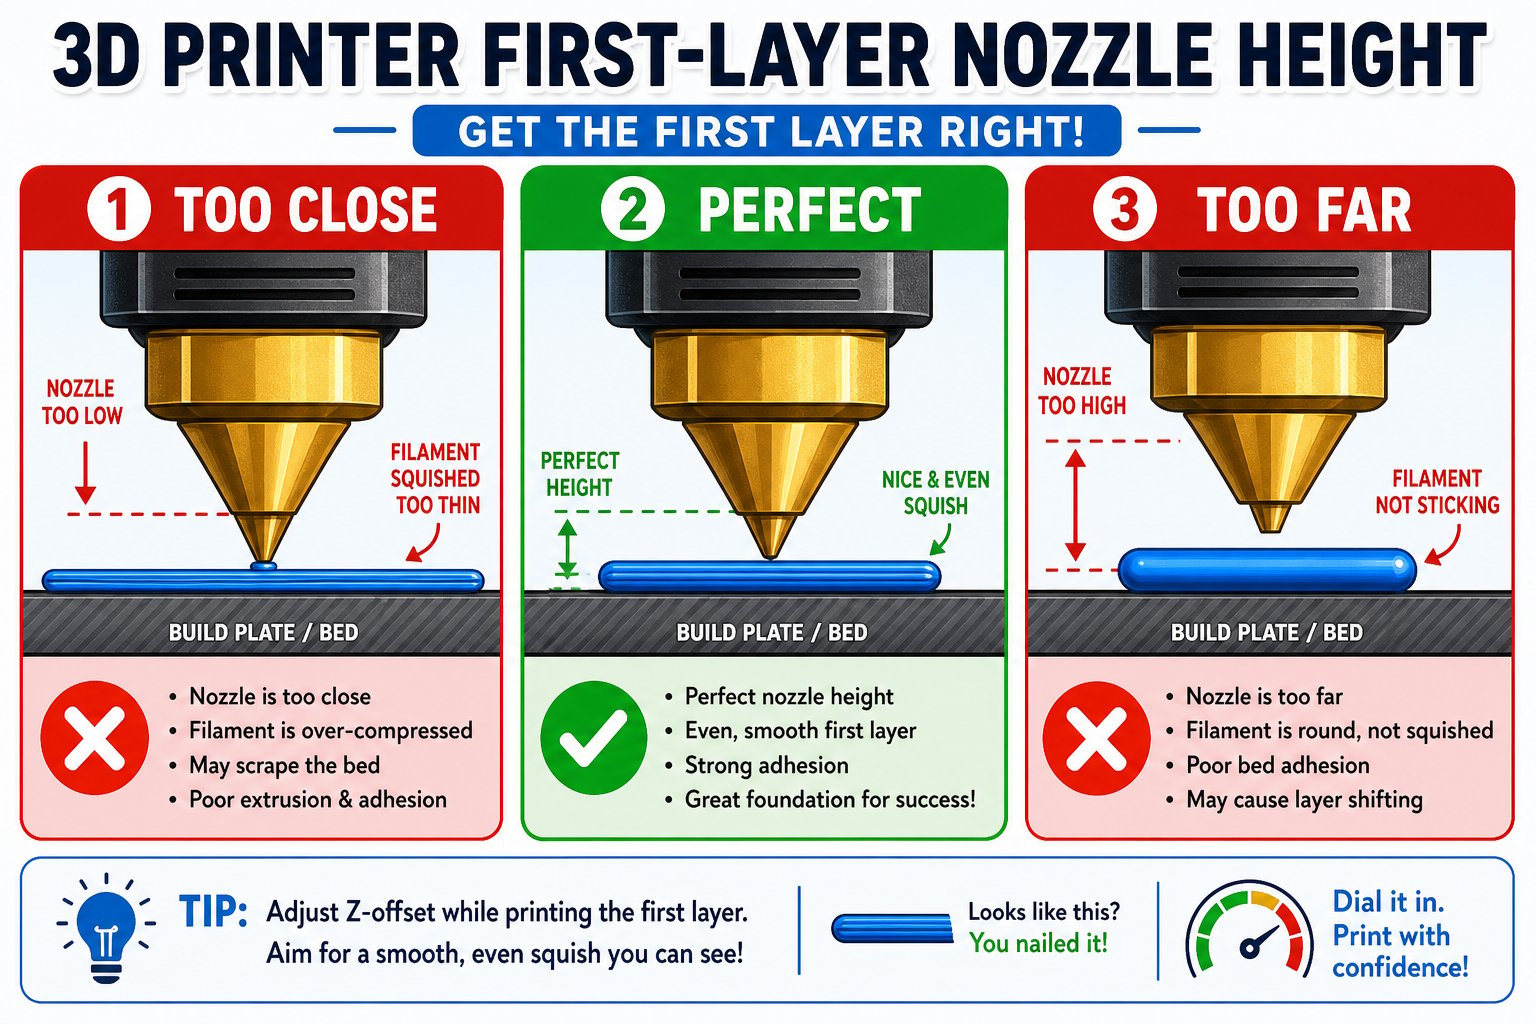 Good adhesion starts with a properly leveled bed and the right nozzle height. The Adventurer 5M's auto-calibration handles most of this.
Match the bed temp to your filament (about 60 C for PLA). A warm bed dramatically improves first-layer grip.
Oils from your fingers ruin adhesion. Wipe the plate with isopropyl alcohol (IPA) when prints stop sticking.
A thin coat of the included glue stick helps stubborn prints stick - and, on PEI, protects the plate from aggressive materials like PETG.
When the print finishes and the bed cools, lift the flexible plate off and bend it gently. Most prints pop right off; use a scraper only if needed.
Do not gouge your PEI plate with metal scrapers or knives. Scratches become permanent low-adhesion spots. Let the bed cool and flex the plate first - patience beats force.
You know the difference between the bed base and build surface, why PEI is a great all-around choice, and the steps to make prints stick and release cleanly.
Next we explore filament **colors and additives** - from glow-in-the-dark to carbon fiber - and how they change both your prints and your printer's wear.
Good adhesion starts with a properly leveled bed and the right nozzle height. The Adventurer 5M's auto-calibration handles most of this.
Match the bed temp to your filament (about 60 C for PLA). A warm bed dramatically improves first-layer grip.
Oils from your fingers ruin adhesion. Wipe the plate with isopropyl alcohol (IPA) when prints stop sticking.
A thin coat of the included glue stick helps stubborn prints stick - and, on PEI, protects the plate from aggressive materials like PETG.
When the print finishes and the bed cools, lift the flexible plate off and bend it gently. Most prints pop right off; use a scraper only if needed.
Do not gouge your PEI plate with metal scrapers or knives. Scratches become permanent low-adhesion spots. Let the bed cool and flex the plate first - patience beats force.
You know the difference between the bed base and build surface, why PEI is a great all-around choice, and the steps to make prints stick and release cleanly.
Next we explore filament **colors and additives** - from glow-in-the-dark to carbon fiber - and how they change both your prints and your printer's wear.